

Tomcat Manager App是一个与Tomcat服务器打包在一起的Web应用程序,它为我们提供了管理已部署的Web应用程序所需的基本功能。Tomcat Manager App允许用户通过Web界面来管理和监控Tomcat服务器上的应用程序,包括但不限于部署、启动、停止、卸载应用程序,以及查看和管理服务器的状态信息。此外,它还支持通过Web界面上传和部署WAR文件,这对于那些不想使用FTP或者服务器上没有启用FTP功能的情况非常有用。
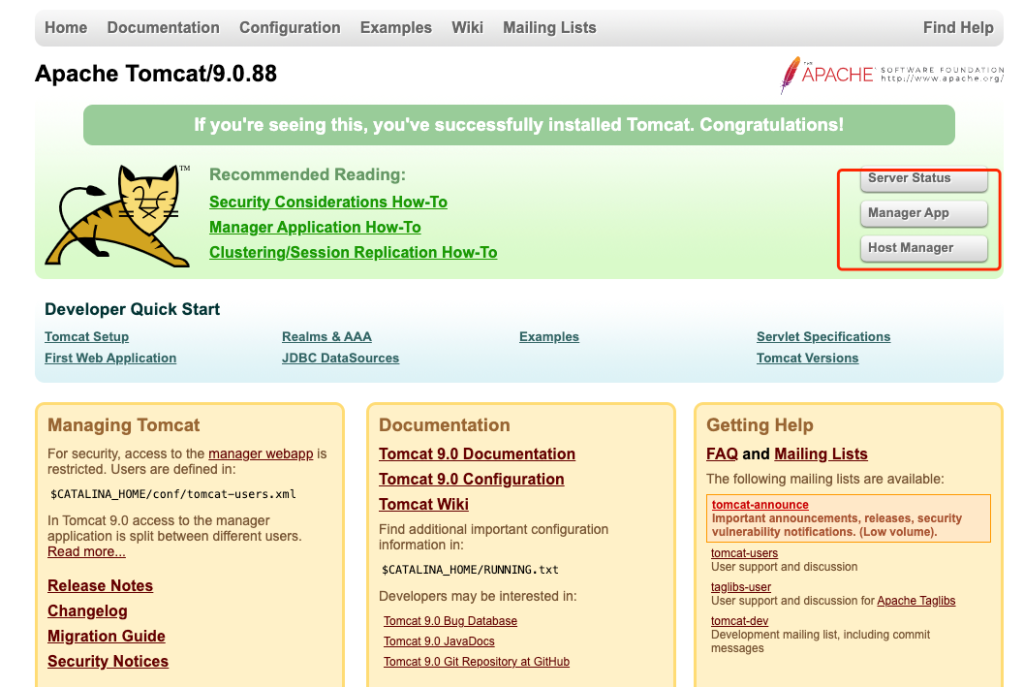
要使用Tomcat Manager App,首先需要确保它已经被启用。这通常涉及到编辑Tomcat安装目录下的conf文件夹中的tomcat-users.xml文件,添加相应的用户角色和权限。一旦配置完成,用户就可以通过浏览器访问Tomcat Manager App的界面,进行各种管理操作。
如图:
怎么配置呢?在tomcat的conf中找到server.xml ,配置所需端口。我这里自定义了9093端口(默认的欢迎界面应该是8080)
<!--前端-->
<Service name="Catalina">
<Connector port="9093" protocol="HTTP/1.1"
connectionTimeout="20000"
redirectPort="8443"
maxParameterCount="1000"
/>
<Engine name="Catalina" defaultHost="localhost">
<Realm className="org.apache.catalina.realm.LockOutRealm">
<!-- This Realm uses the UserDatabase configured in the global JNDI
resources under the key "UserDatabase". Any edits
that are performed against this UserDatabase are immediately
available for use by the Realm. -->
<Realm className="org.apache.catalina.realm.UserDatabaseRealm"
resourceName="UserDatabase"/>
</Realm>
<Host name="localhost" appBase="webapps"
unpackWARs="true" autoDeploy="true">
<!--这里是我的项目 你可以注销此配置或者配置你的项目,因为ip:9093端口就是访问的tomcat的欢迎界面,当前加上/ruoyi-web 就是访问你的项目路径--->
<Context path="/ruoyi-web" docBase="/www/wwwroot/installpageback/apache-tomcat-9.0.88/webapps/web/ruoyi-web.war" reloadable="true"/>
<Valve className="org.apache.catalina.valves.AccessLogValve" directory="logs"
prefix="front_localhost_access_log" suffix=".txt"
pattern="%h %l %u %t "%r" %s %b" />
</Host>
</Engine>
</Service>配置好后,我们移步conf/tomcat-users.xml文件中,配置访问权限。
  <role rolename="manager-gui"/>
  <role rolename="manager-script"/>
  <role rolename="manager-jmx"/>
  <role rolename="manager-status"/>
  <user username="账户" password="密码" roles="manager-gui,manager-script,manager-jmx,manager-status"/>
不急这个时候还是会403 无权限提示,再移步到 webapps/manager/META-INF/context.xml中。
<Context antiResourceLocking="false" privileged="true" >
  <CookieProcessor className="org.apache.tomcat.util.http.Rfc6265CookieProcessor"
                   sameSiteCookies="strict" />
  <!--<Valve className="org.apache.catalina.valves.RemoteAddrValve"-->
  <!--       allow="127\.\d+\.\d+\.\d+|::1|0:0:0:0:0:0:0:1" />-->
  <!--修改后的配置,就是访问ip的白名单设置,这里我设置允许所有,您根据自己需求更改即可--->
  <Valve className="org.apache.catalina.valves.RemoteAddrValve"
         allow="127\.\d+\.\d+\.\d+|::1|0:0:0:0:0:0:0:1|\d+\.\d+\.\d+\.\d+" />

  <Manager sessionAttributeValueClassNameFilter="java\.lang\.(?:Boolean|Integer|Long|Number|String)|org\.apache\.catalina\.filters\.CsrfPreventionFilter\$LruCache(?:\$1)?|java\.util\.(?:Linked)?HashMap"/>
</Context>
这个时候我们在访问 manage-app ,输入刚才设置的密码,即可进入到管理界面了。如图:

可以进行app 的管理部署啦。。。。。